Also read: How to Replace Your Cabin Air Filter in 7 Simple Steps for a Fresher Ride
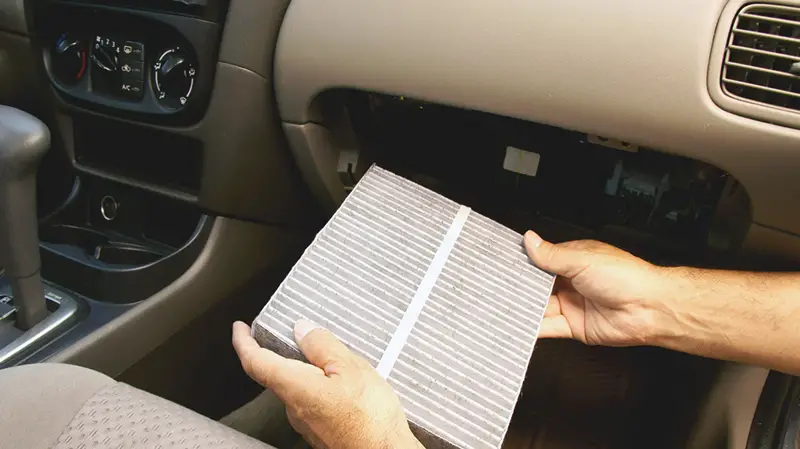
Cabin air filter installation is usually a quick and easy DIY task, but it doesn’t always go as smoothly as expected. If you’re running into issues, you’re not alone—many vehicle owners experience minor hiccups during their first few attempts. This guide covers the most common problems and how to solve them, so you can confidently complete your cabin air filter installation with minimal frustration.
Common Installation Challenges (and How to Fix Them)
1. Hard-to-Reach Filter Locations
Not all vehicles are created equal when it comes to cabin air filter access. Some are as simple as popping open a glove box, while others feel like you’re disassembling half the dashboard.
Solutions:
- Check your owner’s manual or look up video tutorials for your specific make and model.
- Use a flashlight and a mirror to see into tight spaces.
- Try a screwdriver with a flexible extension if standard tools won’t fit.
- Don’t force anything. Be patient, and if necessary, remove surrounding panels for better access.
2. Broken or Brittle Plastic Parts
During a cabin air filter installation, you might encounter clips or covers that snap off due to age and wear.
Fixes:
- Most auto parts stores sell replacement clips or fasteners.
- Use zip ties as a temporary solution until you can replace damaged pieces.
- If the filter housing itself is cracked, a plastic epoxy may seal it—just make sure it’s airtight to prevent unfiltered air from bypassing the filter.
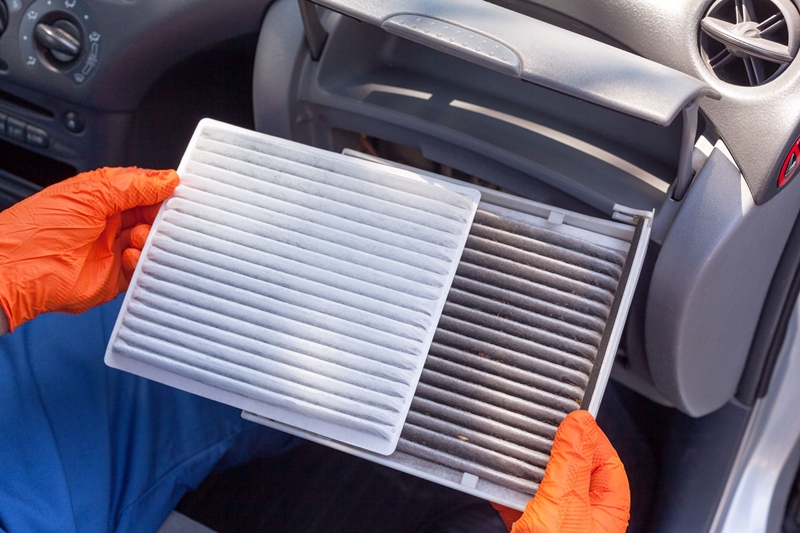
3. Installing the Filter Backwards
It’s surprisingly easy to overlook the airflow direction during cabin air filter installation. A backward filter won’t function properly and can restrict airflow.
How to Avoid It:
- Look for arrows on the side of the new filter indicating airflow direction.
- Match the new filter’s orientation with the old one before removing it.
- Remember: airflow typically goes from the outside toward the cabin.
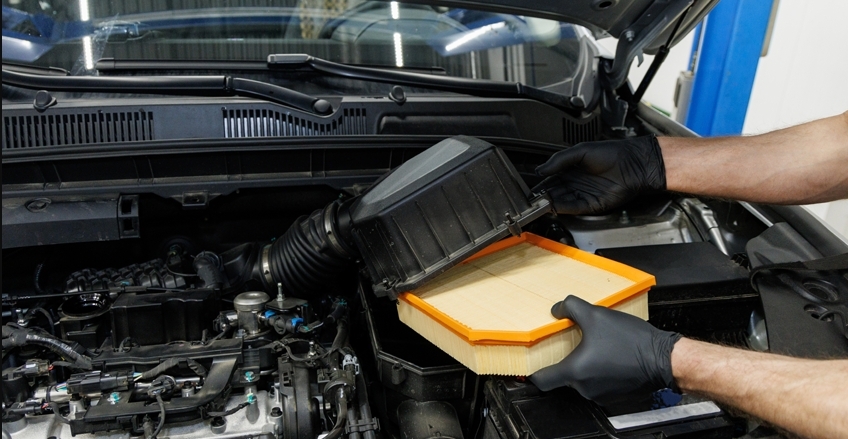
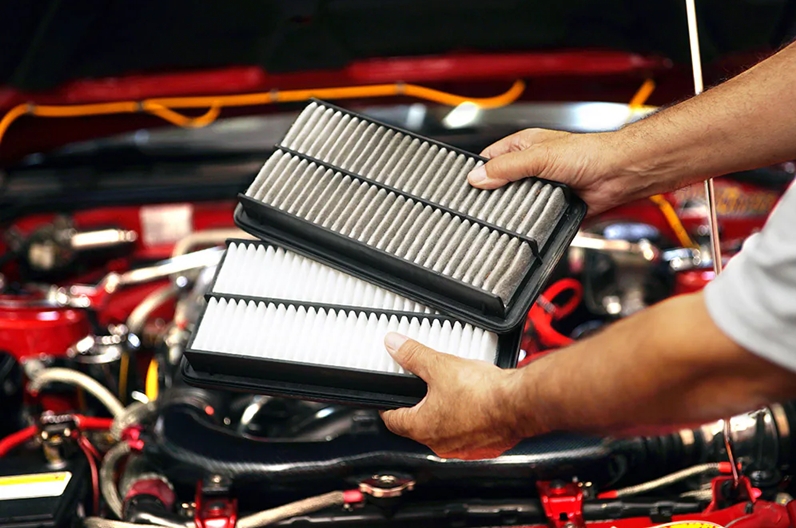
4. Using the Wrong Filter Size
Cabin air filter installation will fail if the filter doesn’t fit snugly inside the housing. An incorrect filter can cause air leaks, rattling noises, or reduced HVAC efficiency.
Tips:
- Double-check your vehicle’s make, model, and year when purchasing a filter.
- Cross-reference part numbers using the owner’s manual or a parts store lookup tool.
- If you’re not sure, bring the old filter with you when buying a replacement.
5. Trouble Reassembling Components
After installing the new filter, you might struggle to put everything back the way it was—especially glove boxes or dash panels.
Advice:
- Take pictures during disassembly to help with reassembly.
- Don’t overtighten screws—this can damage plastic.
- Make sure all clips and tabs are aligned before applying pressure.
Advanced Tips for Upgrading Your Filter
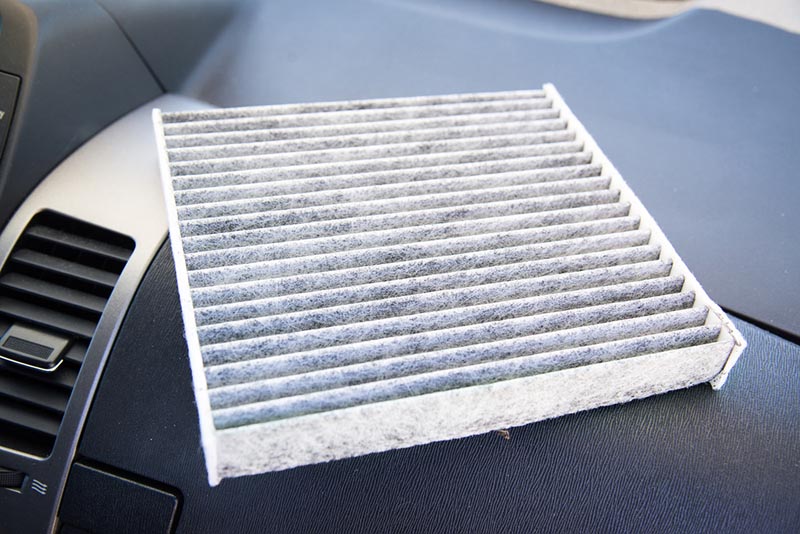
If you’re replacing a basic filter, now’s the time to consider an upgrade that fits your needs. Modern cabin air filters offer various benefits depending on your environment and sensitivity levels.
HEPA Filters
High-Efficiency Particulate Air (HEPA) filters offer medical-grade filtration and are ideal for allergy sufferers or those with asthma. They trap even the tiniest particles, down to 0.3 microns, improving your car’s interior air quality significantly.
Activated Carbon Filters
Great for city driving, these filters trap odors, fumes, and volatile organic compounds (VOCs). They’re ideal for anyone who frequently drives in traffic or near industrial areas.
Electrostatic and Antimicrobial Filters
Electrostatic filters attract fine particles like a magnet, while some premium filters come treated with antimicrobial coatings to prevent mold and bacteria growth—especially helpful in humid climates.
Just keep in mind that upgraded filters may require more frequent changes due to their denser material.
When to Seek Professional Help
Although cabin air filter installation is typically beginner-friendly, there are times when you may need to call in a mechanic:
- You can’t locate the filter after checking the manual and tutorials.
- Access requires removing the center console or other complex components.
- You notice damage to your HVAC system or persistent airflow issues after replacement.
- Your vehicle has a dual-filter system or specialized filtration (common in EVs and luxury cars).
Final Tips for Smooth Installation
To wrap up your cabin air filter installation successfully, keep these final pointers in mind:
- Always remove any plastic wrapping from new filters before installing.
- Check and clean the filter housing using a microfiber cloth, compressed air, or a vacuum.
- Write down the date and mileage of the replacement to track your maintenance schedule.
- Make filter checks part of your oil change routine to catch issues early.
Why Troubleshooting Matters
Taking time to troubleshoot your cabin air filter installation ensures your HVAC system functions properly, delivering clean, allergen-free air and maintaining airflow efficiency. It’s a small task that pays off in comfort, health, and even fuel economy.
Whether you’re a first-timer or a seasoned DIYer, understanding how to address potential cabin air filter installation issues will make each future replacement faster, easier, and more effective.
Let your next drive be cleaner, fresher, and problem-free—one filter at a time.
Need a mechanic? Find one on the Mobile Mechanic Directory
Conclusion
Cabin air filter issues are often easy to fix with a bit of patience and the right guidance. By identifying and addressing these common problems, you can restore your HVAC system’s efficiency and enjoy clean, fresh air while driving. If you’re still unsure about your filter replacement, don’t hesitate to ask a professional—or consider having your next filter change done at a trusted service center.